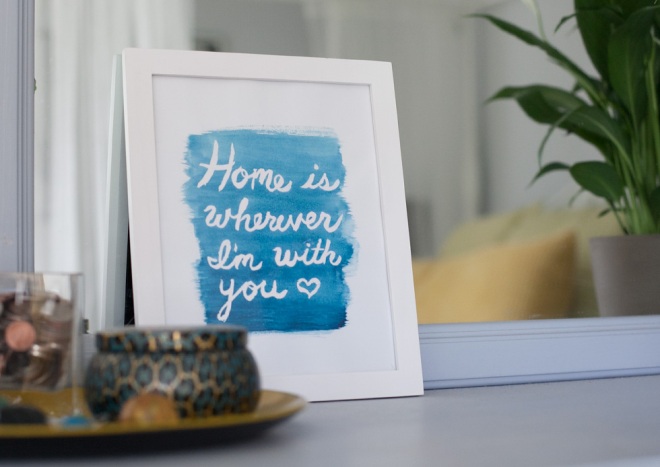
Have you seen the feature on our home over on design mom? It was posted yesterday and it’s been such a treat to be featured over there. I love her blog and I have always been particularly fond of the living with kids series. It has been fun answering questions from her readers about where we got things in our home, and a few people have asked about the “home is wherever I’m with you” quote that we have in our bedroom.
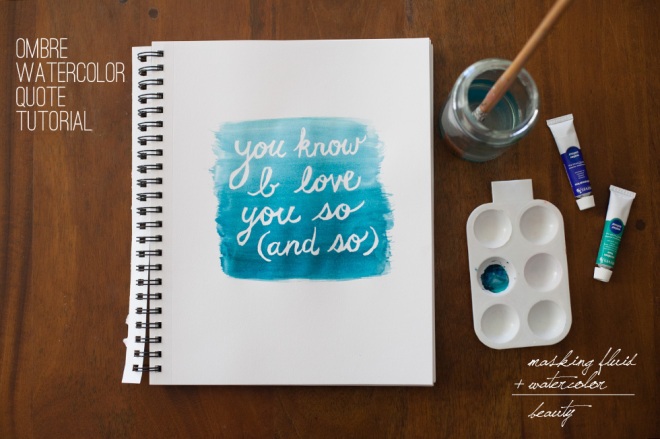
I’ve been a bit obsessed with watercolor lately, ever since Amelia started wanting to paint pictures of her own. It had been years since I painted and I had forgotten how fun and relaxing it can be. Once I had the idea for these song lyric quote paintings I just couldn’t seem to stop making them. I’ve been meaning to put together a tutorial on how I painted them, but really it’s SO simple all you need is a quick intro. Dear readers, I’d like you to meet masking fluid. It’s used in landscape painting for preserving small details, like a white cap on an ocean, but I have been using it to mask out words under a big swath of color.
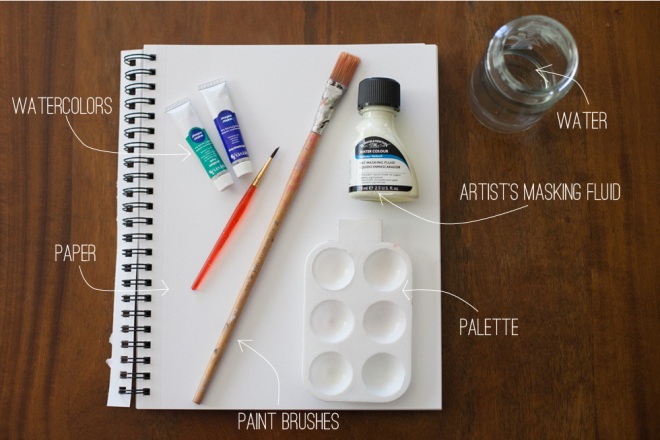
All you need for this project is a few simple supplies.
I use tinted masking fluid, it makes it easier to see where you’ve painted and work on your design. I always freehand my designs, but I have had a lot of practice with hand lettering (I hand addressed each of our wedding invites in calligraphy, I’m a bit crazy sometimes). If you’re less sure of yourself you might like to sketch the placement of the letters very lightly with a pencil first. Make sure that you cover all of the pencil markings when you apply your masking fluid, as you won’t be able to erase them if they get covered in watercolor, and they might show through the paint. When applying the masking fluid, I always use a thin line as a first pass and then go back and add a bit of variation in line thickness to give a little more character. Once the masking fluid is entirely dry, go back with a wide brush and apply the watercolor. I am taken with ombre (it’s everywhere, isn’t it) so I’ve been painting gradients. I start at the end I want to be darkest (usually the bottom) and work my way up in side to side strokes, as you drag the brush upwards it naturally becomes lighter. Easy peasy.
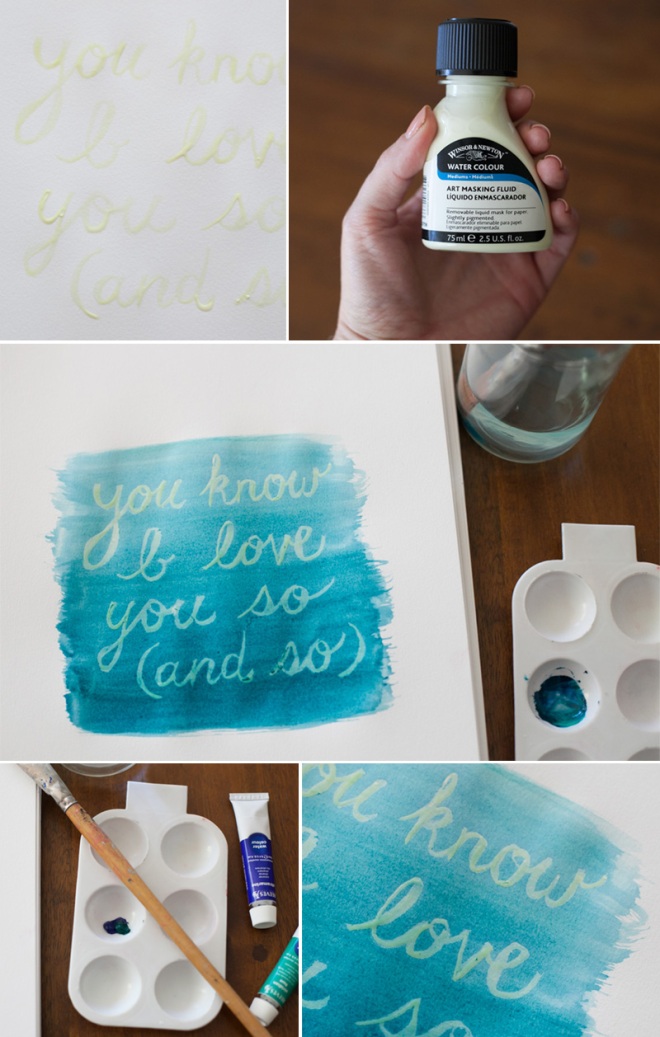

Once the watercolor is all the way dry, just rub at the masking fluid with a fingertip and it should start to come right off. If you used pencil as a guide, you’ll want to use a clean eraser at this point to remove the markings. And that’s it, so simple! The hardest part for me is always waiting for the paint to dry to so I can see the finished product. I’m so impatient!

I actually have several paintings like this scattered throughout our house (did you spot them in the tour?) – the “E is for Edith” in her room was done with the same technique

Let me know if you try this out, I’d love to see what you come up with!

Off to get masking fluid!!! Love these and thanks for the tutorial!
LikeLike
loving this. just came over from instagram to find your tutorial, and i think i am headed to michael’s tomorrow to get supplies!
LikeLike
These are amazing, I’m new to watercolour paints so I am always looking for new ways to incorporate using it somewhere in my craft designs so a big thank you for sharing this tutorial!
I’m also very impatient with seeing the end result so I completely feel your pain there! Off to get masking fluid 🙂
Caitlin x
LikeLike
Thanks for sharing this idea 🙂 Love it so much! Just wondering, do you use normal paper or watercolour paper? 🙂
LikeLike
I typically use either watercolor paper or mixed media paper, the thinner paper types will either warp when wet or even worse they can pill or tear. Thicker paper that’s intended for painting is the way to go!
LikeLike