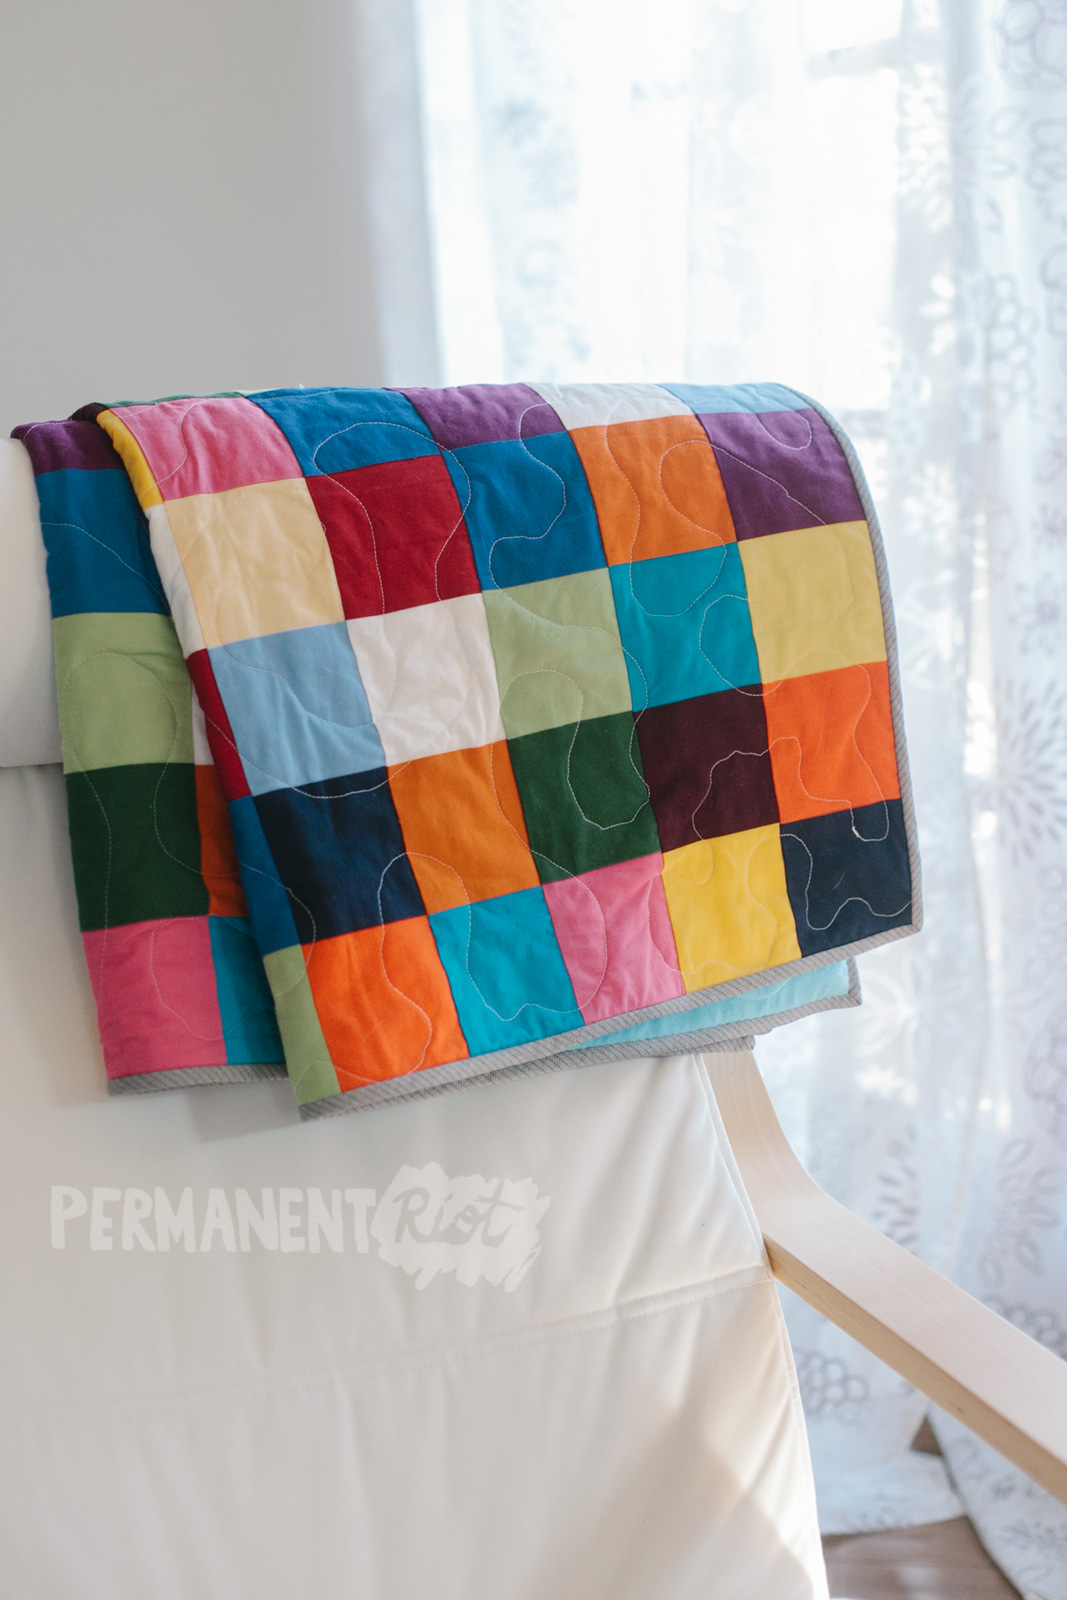
It’s finished! The quilt is finished! I actually finished it a while ago (last week?) but between the traveling and general chaos in my life right now I just haven’t had time to put together a proper blog post about it. Well that and I haven’t been able to get a decent picture of the darn thing and I didn’t want to blog it with bad pictures. But I *still* can’t get a good shot of it so I am giving up 🙂 Bad pictures it is. These are “fresh from the dryer” rumply quilt goodness – although I promise in person it doesn’t look quite so wompy, it actually looks quite nice. I just can’t figure out how to convey it in images. So you’re just going to have to take my word for it.

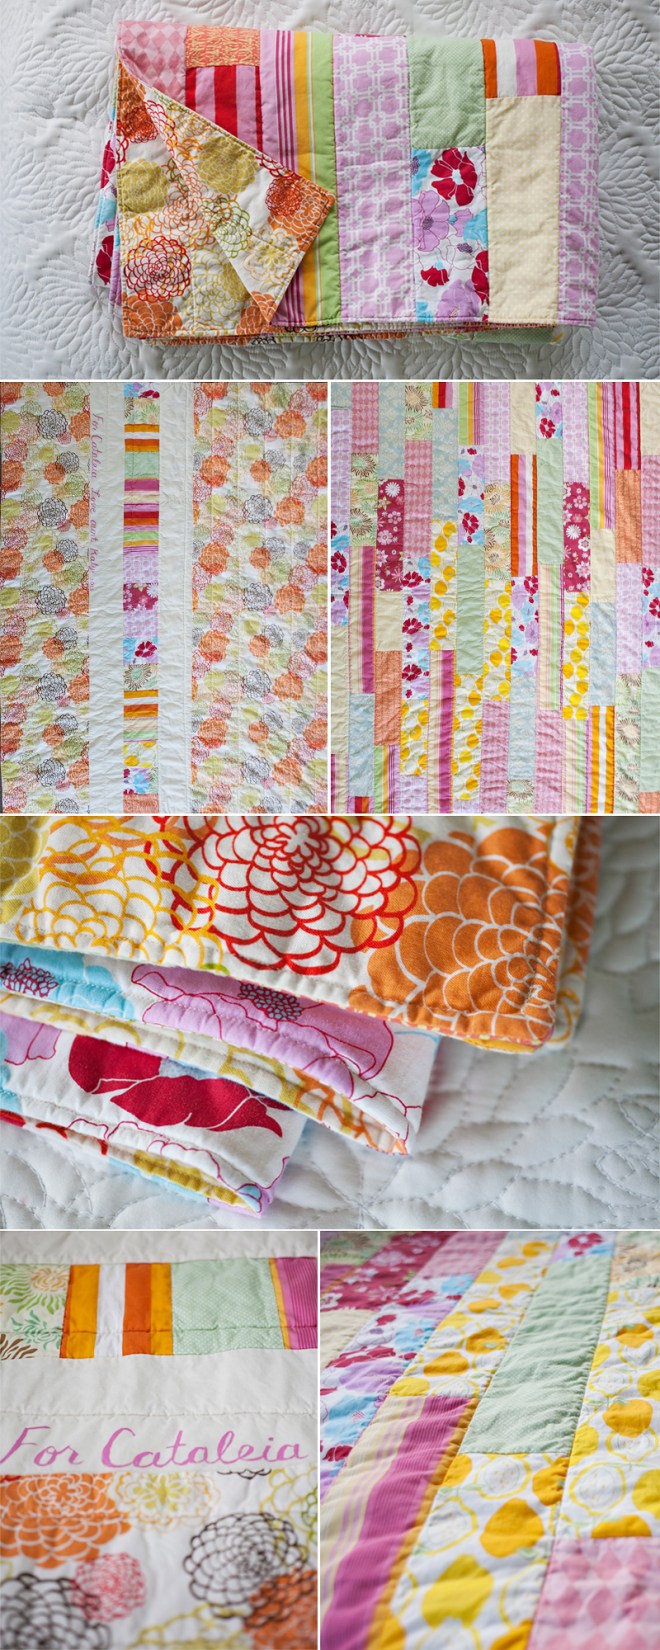
This project was a HUGE undertaking and I just kept adding on to it as I went along. Originally I was just planning on spending a few days on it but it ended up being a two week process. I am by no means an expert quilter so I consulted a huge list of online tutorials (thank you google!) for all of the various steps along the way. The overall design/layout of the quilt is thanks to a Moda Bake Shop tutorial for a stacked coin baby quilt. I loved the look of the quilt and I also liked the fact that all of the pieces were small, which meant I could use even the tiniest of Amelia’s old clothes. I did tweak it a little, adding in two square pieces in each row to make sure that I could save any big appliques or extra cute pockets that might not fit on a 2.5×5 inch rectangles. It’s important if you’re going to add squares to add the same number to each row since it will change the total length of the row (it’s not the same as just substituting for two rectangles because it won’t have the seam allowance if that makes sense – maybe a no-brainer but just in case 🙂 )

The first of many “oh this won’t take *that* long” moments I had was in cutting up all of the pieces. I seriously underestimated how many outfits I would need (I think it was around 35?) and how many pieces I would have to cut total. I also decided early on that I would use interfacing on any of the knit pieces like onesies and jammies (which was all but about 3 outfits) so that it would be easier to sew with them and keep all the lines neat and even. I’m glad that I did it but MAN did that ever take a long time. I worked for days and all I had to show for it was a pile of rectangles. The piecing of the top actually went fairly quickly, the hardest part for me was deciding what order the rectangles should go in. I spent hours staring at it and shuffling them around until Ben finally told me I was over-thinking it (he was right).
I was originally going to use a piece of cute quilting cotton I’d picked up at the fabric store for the back (with the little stripe that’s included in the tutorial of course) but it just didn’t look *quite* right so I decided to go with a couple of receiving blankets instead. They weren’t quite wide enough to cover the entire back so I ended up using a border of the same white sashing that was on the front. I think it turned out quite nicely.
I saw a bunch of great tutorials on free motion quilting and quilting in fun patterns, but honestly I was a little worried about just completely ruining all of my hard work (and Amelia’s baby clothes) by sewing nonsense on top of it. So I opted for stitching the ditch instead. It seems like it would be pretty straightforward but I still wanted some tips. While super brief, I found this explanation pretty helpful, especially the part about stitching to one side of the seam… it worked out well (I think). I stitched down each of the long vertical seams and along every other horizontal ladder line in the center of the quilt and around all of the borders as well.
The binding was the next unbelievably long and involved piece of the puzzle. I had used before and really liked Heather Bailey’s quilt binding tutorial so I was planning on using that, but I also knew I wanted to use bias binding tape and I wasn’t sure what the most efficient way to cut it was, so I consulted google again and found this tutorial on cutting bias binding. Quite clever indeed. I also found this other bias binding tutorial and they’re pretty much the same as each other, I just preferred using a square so I went with the first one. I actually made my binding quite thin, I think on the next go around I might make it thicker, Ben thinks it looks nice as is. We’ll see. My main problem with most quilt binding tutorials is that they just say “hand stitch the back” once you’ve gotten to the end, and I have no idea what that means. What kind of stitch should I use? How do I tie the knot? Are you kidding, that’s all the instructions you’re going to give me?! So off to google (yet again) and I came up with this gem of a tutorial on ladder stitching quilt binding. Perfect! Her tutorial on making a quilter’s knot also pretty much changed my life – I had no idea knots could be so easy 🙂

So the quilt was – well – quilted. Bound. Almost ready to go! The last step was a label. I knew I wanted to do something embroidered but I wasn’t sure how. While I do own an embroidery hoop (purchased for some never-attempted screen printing project years ago) I had never actually done any embroidery so I consulted the internet (yet again) to find out what the basic steps were. I ended up using this site to learn the chain stitch – which I’m pretty sure was never intended to write letters with but oh well. I didn’t know any better so I did. They didn’t turn out perfectly but I still like it.


I wanted to make it a heart shape since I loved the label so much on this quilt that my grandmother made me when I was little. I was fretting about getting the embroidery just right on Amelia’s because I remember it being so perfectly done on my grandmother’s – and it turns out hers wasn’t perfect either (who knew?!) so I’m hoping that Amelia remembers hers fondly (and with less imperfections) the way that I remember mine being so meticulously crafted (mistakes and all)

I’m pretty sure that the best part of the quilt (and anything I’ve ever made for Amelia to be honest) was watching her reaction when I gave it to her. She pretty much loves it to pieces. She squeals with delight and yells “night night!” when she sees it. She wants to take a nap on it and snuggle with it and generally love it (which was the idea so I couldn’t be happier). She also loves to sit on it and point out all of the little animals and birds. It’s pretty darn cute.


Now I just need to make Paul’s 🙂 Oh. And in case you didn’t see the first two “in progress” posts on the quilt, they can be found here and here.
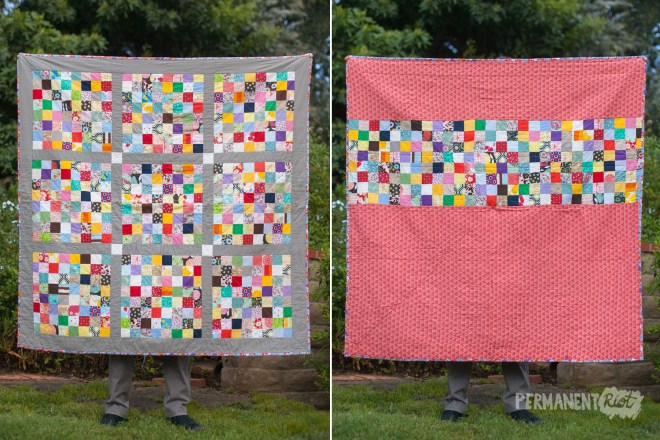


 The back of the quilt has a row of strips from the leftover fabric from the front, just because I can’t stand to leave the back of a quilt plain (even if it would be a time saver and I could always use a time saver).
  The majority of the fabrics (the prettiest ones for sure!) came from my friend Jean (thanks Jean!) who was trying to get rid of some fabric that no longer sparked joy for her (thank you to Marie Kondo too!) and I am so glad that she gave them to me because they were definitely the inspiration for the color palette that I chose for the remaining fabrics.
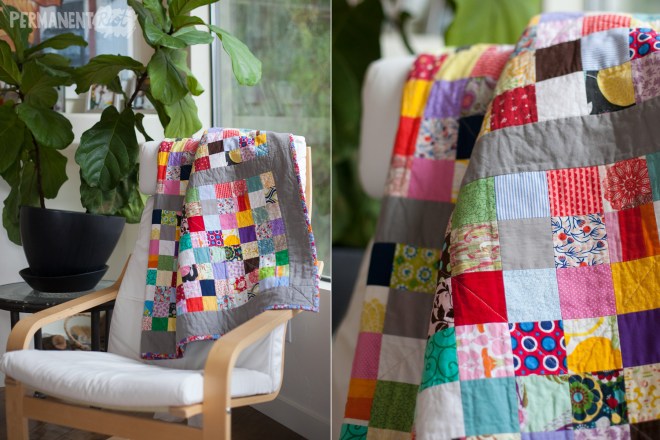
 My favorites are the bright reds and deep purples, I love how they pop out when you see the whole thing together.
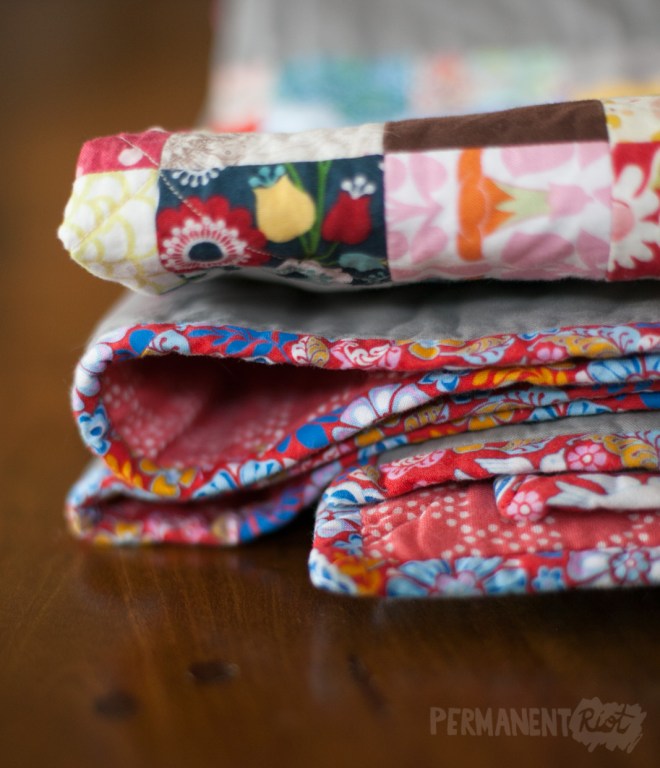
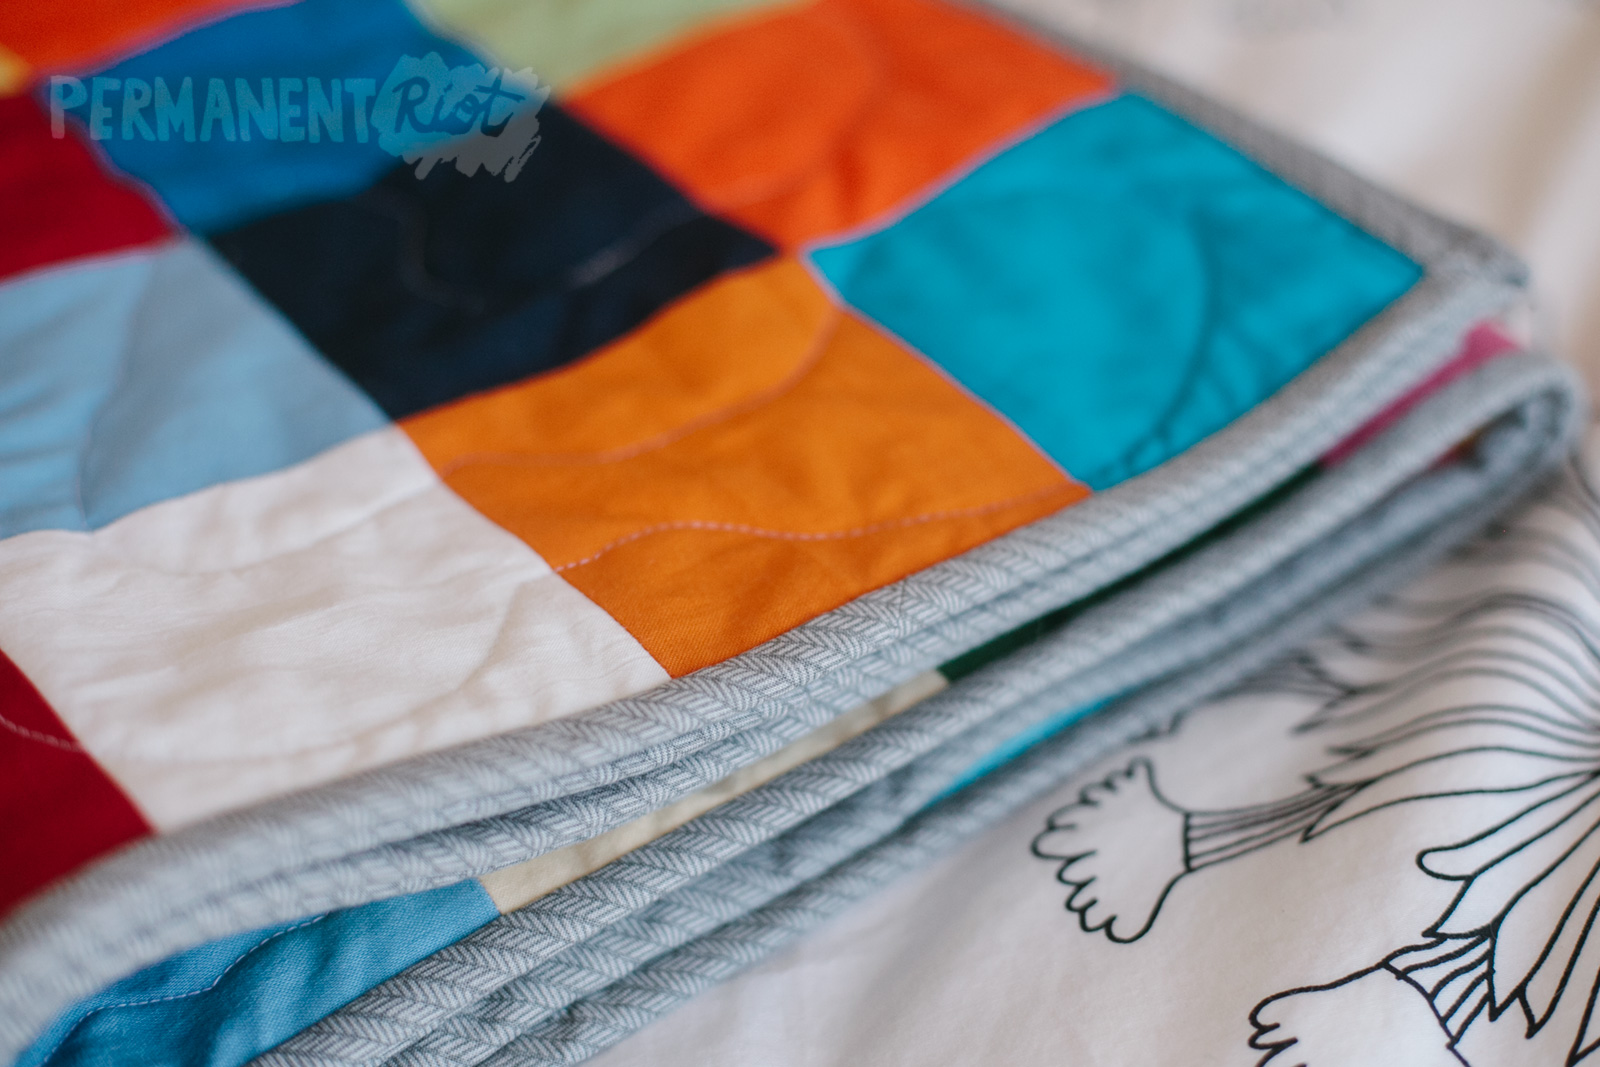
 I finished this quilt with some hand sewn bias binding and a painted label. I still just don’t seem to have the patience or talent for nice hand embroidery so I prefer the look of a painted label for now.
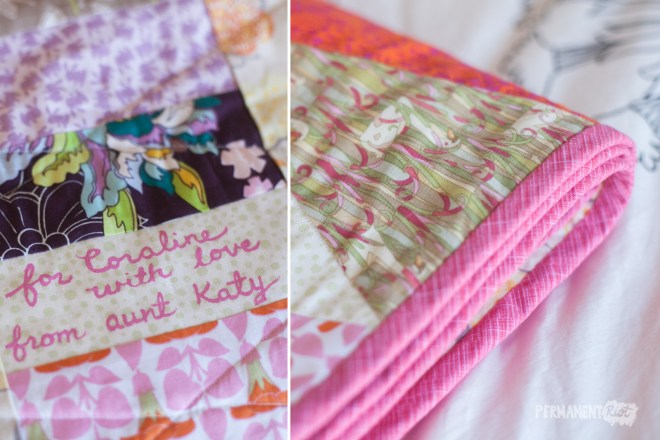 Hooray for finishing another quilt! I was hoping to have this one done by Christmas but was able to hand it over completed on the 26th. Not too bad for a hectic holiday season. I also finished one other quilt, the one I had been working on for ages for big brother Raylan, so I will be sharing that one next. Now if I could only finish up that baby clothes quilt for Edith…